How Do You Install A Victorian Fireplace? This article looks at the steps involved in installing a Victorian period fireplace in your home.
Fireplace Fitting
Opening Preparation
Firstly, you should now measure the opening to decide whether any of the already installed brickwork needs to be cut away in order to form a larger opening. The majority of older houses will have an original fireplace opening of around 36 inches by 36 inches.
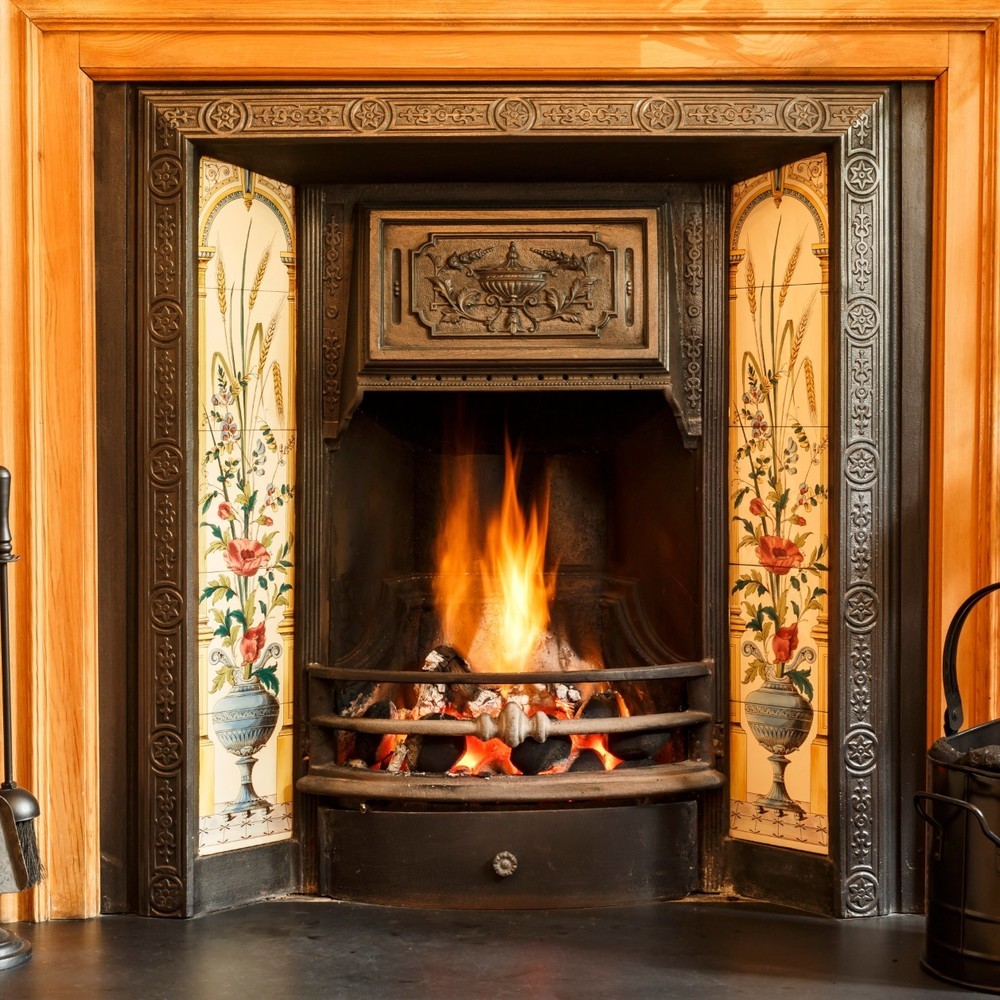
The opening might be bricked up or plastered over after years of unuse. The average opening for a tiled fireplace needs to be around 18 inches wide, 26 inches high, and 9 inches deep.
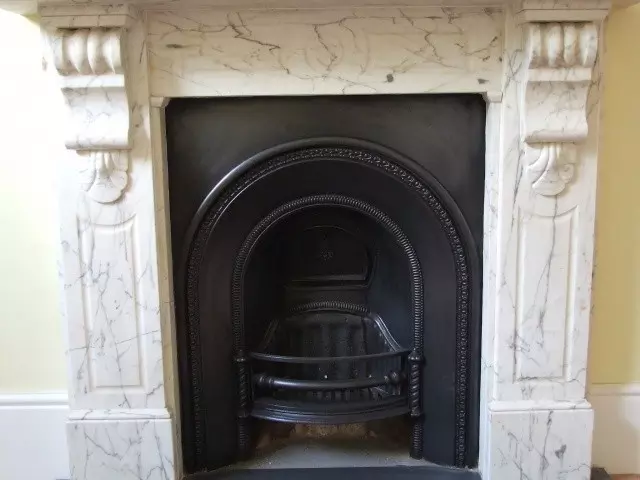
If you are looking at an arched insert, then you need an opening that is 22 inches wide, 30.5 inches high, and a depth of around 6.5 inches.
Hearth Laying
The first piece of work you need to do here is to lay the hearth on a very thin layer of slushy mortar. This needs to be completely level as everything will sit on top of the hearth.
Once you are happy with the level of the hearth, fill the area within the chimney breast up to the level of the hearth with cement mix. Now, allow the cement to set.
Cast Insert Fitting
Place your fireplace surround against the wall, ensure that the surround is flat. At the outer legs, measure the distance from the legs to the wall; this is for the rebate of the mantel. This distance will then determine how far the cast sits off the wall.
Now all the above has been checked; it is time to secure the Arched Insert or Tiled Insert to the wall. We would recommend using a bonding plaster for the 1 inch rebated mantels; this is because you will only have a 1-inch gap behind the cast fireplace.
For 3 inch rebated mantels, try cutting some brick slips and using them on both sides, building essentially two pillars atop of the hearth with a small lintel across the top. At this point, you should seal the back of the cast to form a fully airtight seal.
Backfilling
Once all the plastering has dried, and you are happy with the results, it is now time to backfill the fireplace with vermiculite.
You can also use small pieces of rubble for this part of the process. Once it is filled, top the martial off with a cement cap, this is done so that all the soot will fall into the fireplace opening.
Mantel Fixing
The mantel can now be fixed in place over the fireplace insert. The mantel can be fixed to the wall with the concealed fixing brackets if you are using the timber surrounds.
If you are using limestone or marble surrounds, then we would recommend using the L brackets. These should be fixed to the inside legs with glue and then attached to the wall using screws and raw plugs.
Two at the top and two at the bottom. A strong adhesive such as stone glue or clear marble should be used; this will help with the individual pieces sticking to each other, as well as the wall.
Sealing
A limestone mantel should now be carefully sanded down in order to remove any small marks or chips. Wipe the mantel clean with a lint-free cloth; after this is done, apply the sealer coat.
Ensure that it is applied evenly across the unit, remove any excess you can locate. Let the coating sink in and dry for a couple of days before the fireplace is used.
Instructions for fitting a firebrick back

Place the firebrick into the position where the finished product will be going, and then put it right up to the fireplace.
Once you have done this, check that everything is centralised on both the hearth and the wall. Now, pull the firebrick back into position, up against the fireplace.
Mark the position of the brackets and fixing lugs; this will be important for later in the process. Next, you need to fill the whole back area behind the brick with hardcore. We would recommend using vermiculite for the backfill around the firebrick back. 1 or 2 inches behind the back is perfect.
Now you need to continue the bricking up to the top of the firebrick. Try to start to feather the bricks into the chimney.
This is done in order to allow soot to fall down from the chimney and into the grate; otherwise, the chimney could simply just build up in the chimney, which could later cause a chimney fire.
If the fireplace still has its original back, then make sure that there is enough opening room for the damper or vent; once there is, then you should stop the bricking up at this point. The finished level should be below this point.
You can now fit the fireplace using large-sized screws and plugs, and we recommend a size of around 2 inches. This is for fixing the fireplace to the wall once you have removed the plaster first. The fireplace should sit on top of the brick of the chimney and then should be plastered afterwards. There should be no gaps for air.
The firebrick back should be touching the fireplace, but do not worry too much if they do not initially form a seal.
Once the fire is lit, the back will get hot extremely quickly and then will then expand. This is why a small gap is actually helpful. You should ensure that there is never a gap at the back of the firebrick. This can cause turbulence and can mean only very weak fires will be produced.
Lastly, you may want to use some black grate polish, such as metal polish and graphite polish. All you need to do is wipe down everything. Remove cement and plaster from the hearth, and if you need to rebuff the fireplace with graphite polish.
Fitting a tiled insert and surround

If you are fitting an insert with a separate surround, then the instructions are the same for when you are bricking up. The difference here is that the wall will not be fitted directly onto the wall but set off the wall.
A seal is necessary between the two units, and this can be achieved by getting the insert fastened in the right position and using plasters edgings. Ensure it is completely straight; the material is easy to manipulate.
Push down into the gap and then seal it all with fireproof sealants, or use plaster until it sets. Once the process is done, do not forget to screw the surround to the wall.
Nitromors, heat guns or dipping

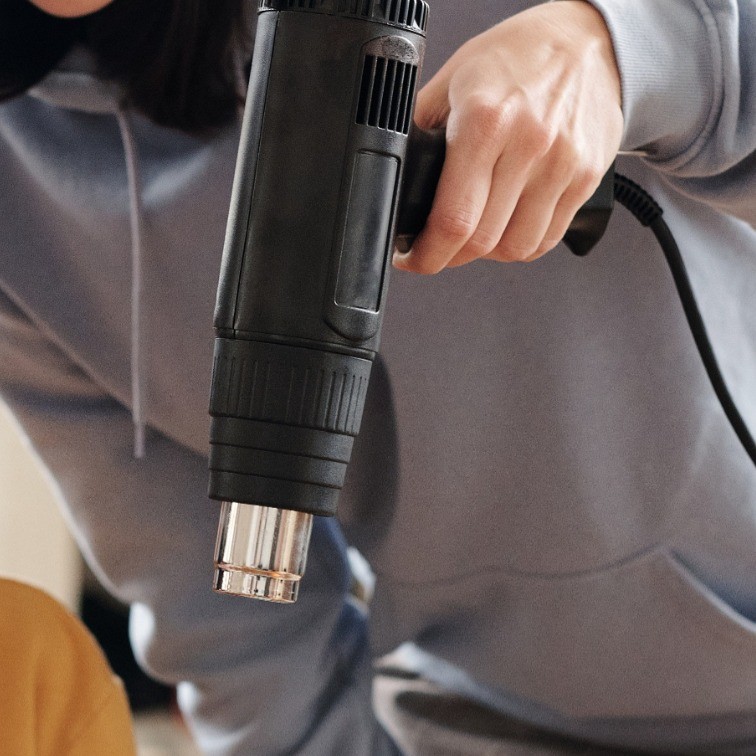
If your fireplace is in situ, then either use Nitromors or a heat gun in order to remove all of the old paint. We would strongly recommend using a heat gun for not only ease but a much better effect.
In the long term, heat guns save both money and time. They also help in making far more mess. If the fireplace can simply be dipped in an off-site location, then you should absolutely go for that option.
Do you have a period fireplace which needs repair or restoration? If you live in the Hastings and East Sussex area, our expert antique fireplace restoration services can help.
